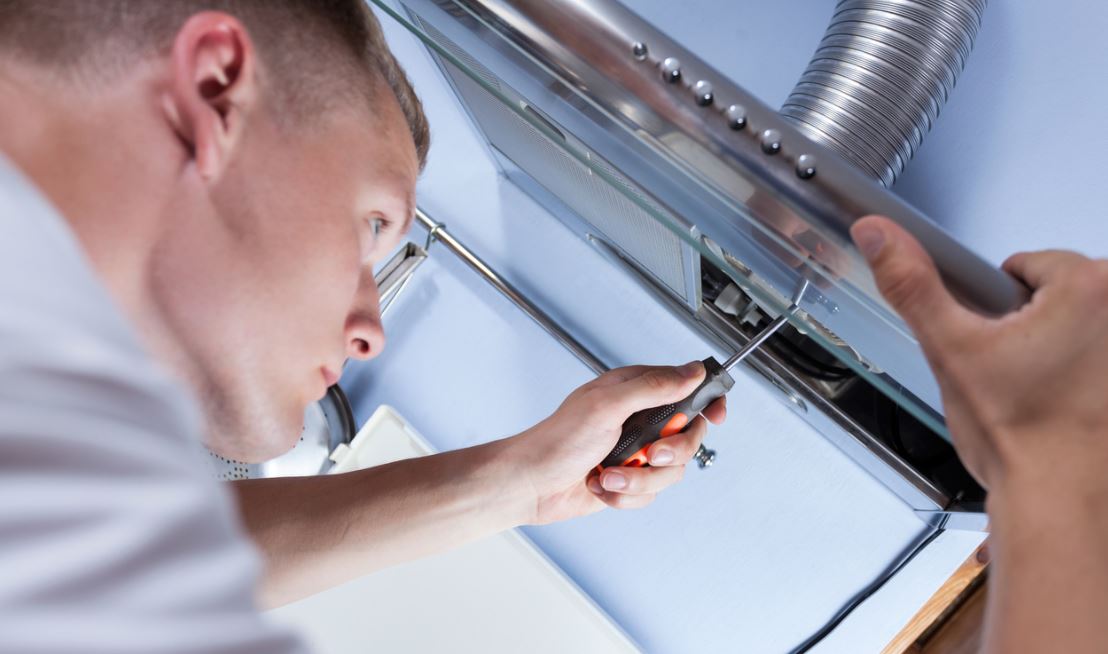
In the dynamic world of the restaurant industry, ensuring the proper functioning of kitchen equipment is of paramount importance. One such vital piece of equipment is the restaurant hood, a device designed to control the level of airborne grease, heat, and smoke within the kitchen.
While professional service is always an option, the ability to troubleshoot and repair minor issues can significantly reduce downtime, saving both time and money. However, the process of mastering DIY restaurant hood repair is not without its complexities, requiring an understanding of the hood’s components, the necessary tools for repair, the step-by-step repair process, safety precautions, and troubleshooting common issues.
So, how can one equip oneself with the skills and knowledge necessary to tackle this task effectively? By diving into a comprehensive guide, filled with practical tips and insights, restaurant owners and staff can gain the confidence and competence to perform minor hood repairs, and keep their kitchens running smoothly.
Understanding Restaurant Hood Components
To successfully undertake any DIY restaurant hood repair, a comprehensive understanding of the various components and their functions within the hood system is crucial. The hood itself, typically made of stainless steel for durability and ease of cleaning, is designed to capture and contain cooking vapors and excess heat. Its design and size are determined by the type of cooking equipment used and the volume of cooking.
The grease filters, usually made of aluminum, stainless steel, or galvanized steel, are vital components that trap airborne grease particles to reduce fire risks. They need regular cleaning to maintain efficiency and safety. The ductwork, which transports the captured vapors and heat from the hood to the exterior of the building, is another essential part of the system.
The exhaust fan, positioned at the top of the ductwork, pulls air and cooking fumes through the system and expels it outside. The fan’s efficiency can be influenced by several factors, including its size, speed, and the length and complexity of the ductwork. Understanding these components and their interplay is the first step towards successful DIY hood repair.
Necessary Tools for Hood Repair
Equipping yourself with the correct tools is a pivotal step in the process of DIY restaurant hood repair. The right tools can make the repair process efficient while ensuring the thoroughness of the job.
A detailed inspection requires a flashlight or headlamp to illuminate the dark recesses of the hood. Additionally, a multi-meter is a vital tool for testing electrical connections, ensuring they are functioning correctly. For physical repairs, a range of wrenches, pliers, and screwdrivers are necessary, as various components may need to be tightened, adjusted, or replaced.
A high-quality grease cleaner and microfiber cloth are essential for maintaining cleanliness and reducing fire risk. Further, a ladder is indispensable for reaching the higher areas of the hood. Safety equipment, like gloves and eye protection, is another non-negotiable aspect of your toolbox.
For more complex issues, a voltmeter can be useful for diagnosing electrical problems, and a drill might be required for installing new components. Lastly, always have the restaurant hood’s manual at hand. It is an invaluable resource that can guide your repair process. Remember, the key to successful DIY repair lies in preparation, and having the right tools is a large part of that.
Step-by-Step Repair Process
Commencing the repair process, it is imperative to first disconnect and isolate the restaurant hood from its power source to ensure safety while working on the unit. It is not enough to simply switch off the power; you should take care to unplug the unit entirely from its electrical source.
Once safety has been established, we can delve into the repair process. The following steps provide a comprehensive guide:
1. Inspection: Begin by inspecting the hood thoroughly. Look for visible signs of damage such as dents, holes, or corrosion. Ensure the filters are clean and not clogged with grease or debris.
2. Diagnosis: Identify the underlying issue. This could be anything from a broken fan motor to a faulty switch. Use your tools to test the parts and determine the root cause of the problem.
3. Repair: Once the problem is identified, procure the necessary replacement parts. Then, remove the faulty component and install the new one. Be sure to follow manufacturer’s instructions for installation.
Safety Precautions to Consider
In the realm of restaurant hood repair, prioritizing safety precautions is of paramount importance to prevent accidents and ensure a smooth repair process. Navigating through this framework requires a keen understanding of the potential risks involved and a meticulous approach towards mitigating them.
Firstly, always disconnect electrical power before commencing repairs. This simple step can prevent electrical shock, a common and dangerous risk. Wear insulating gloves and safety glasses for added protection.
Secondly, utilize proper ventilation during repairs. Hoods can accumulate grease and grime, which can emit harmful fumes when disturbed.
Thirdly, do not neglect fire safety. Keep a fire extinguisher nearby and ensure it is in working order. In addition, avoid wearing loose clothing that could potentially catch fire.
Moreover, ensure stability when working on higher platforms. A sturdy ladder or scaffold can prevent falls.
Lastly, familiarize yourself with the specific hood system you are working on. Reading and understanding the manufacturer’s instructions can save you from unforeseen complications.
These precautions, while seemingly simple, can significantly reduce the risk of accidents. By fostering a comprehensive safety culture, you can ensure a successful and safe restaurant hood repair process.
Troubleshooting Common Issues
Having established the significance of safety measures, we must now address the task of identifying and resolving the most common difficulties encountered in restaurant hood repair.
1. Inadequate Ventilation: The hood’s primary function is to remove smoke, grease, and hot air from the kitchen. If it fails to do this effectively, first check for grease buildup or blockages in the ductwork. Regular cleaning can prevent this issue. If the problem persists, it may indicate a malfunctioning fan motor or control switch.
2. Unusual Noise: Hoods operate with a constant, unobtrusive hum. If you notice a rattling or buzzing noise, this could suggest a loose or damaged fan blade. Inspect the fan and tighten any loose components. If you find a damaged blade, it’s best to replace it immediately to avoid further damage.
3. Flickering Lights: If the hood’s light flickers or doesn’t turn on, the light fixture or wiring could be at fault. Check the bulb first; if it’s not the issue, inspect the wiring for any visible damage. Remember to disconnect the hood from the power source before starting any electrical work.

