
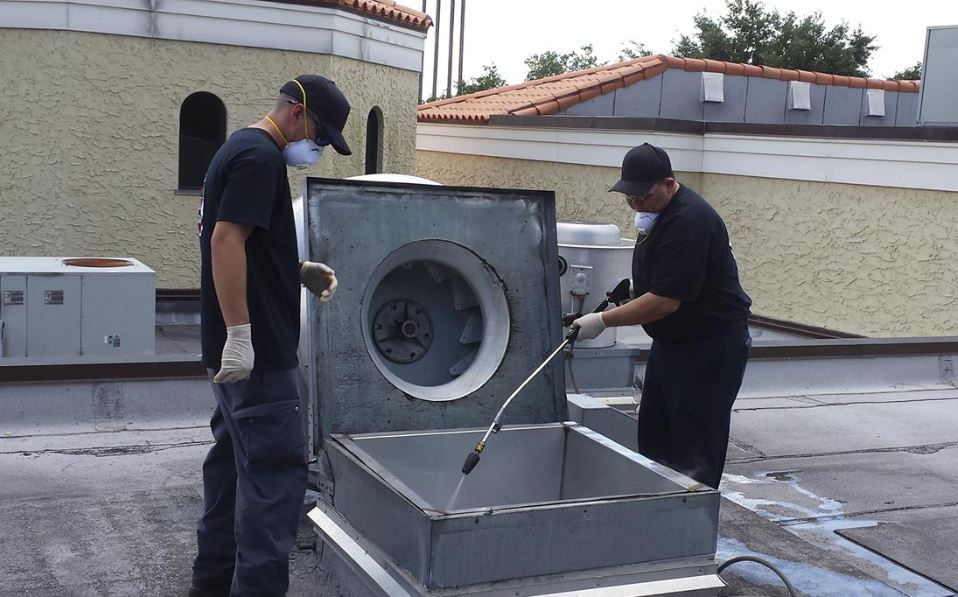
In the bustling environment of a restaurant kitchen, efficient operation is paramount, and a key component of this efficiency is the functionality of the kitchen hood. The hood plays a crucial role in maintaining a clean, safe, and comfortable workspace by extracting heat, smoke, and odors.
Unfortunately, even such sturdy equipment can falter at times, with a common issue being a broken hood latch. This often-overlooked component is vital for the hood’s operation, ensuring that the hood remains securely open or closed as needed.
While this may seem like a daunting issue to resolve, we assure you, with the right approach and tools, it can be handled with relative ease. As we delve into the specifics of identifying and repairing a broken hood latch, we invite you to explore the potential to not only save on costly professional repairs but also to increase your understanding and maintenance of your kitchen equipment.
Understanding Your Kitchen Hood
The kitchen hood, an integral component of your restaurant’s cooking area, is a complex system designed to efficiently remove smoke, heat, and cooking odors, ensuring a safe and comfortable environment. This system comprises several parts, including the hood itself, filters, ductwork, and an exhaust fan. Understanding how these elements work together is essential for efficient operation and maintenance.
The hood is the visible part of the system, typically made of stainless steel, which collects the airborne byproducts of cooking. Filters, situated within the hood, trap grease particles, preventing them from entering the ductwork. The ductwork, often composed of rigid metal, channels the filtered air to the exterior of the building while the exhaust fan, located at the end of the ductwork, expels the air outside.
When these components function seamlessly, your kitchen remains clean, safe, and compliant with health and safety regulations. However, a malfunction in any part of the system can lead to inefficiencies, increased fire risk, and potential health hazards. Therefore, regular inspection, cleaning, and timely repair of your kitchen hood system are crucial.
Identifying a Broken Hood Latch
Recognizing potential issues within the complex system of your kitchen hood, such as a broken latch, is a crucial aspect of maintaining efficiency and safety in your restaurant’s cooking area. A malfunctioning latch can cause improper ventilation, leading to a buildup of heat and smoke, posing significant risks.
To identify a broken hood latch:
– Inspect the latch visually: Look for any obvious signs of damage or wear. This could include:
– Rust or corrosion
– Bent or warped components
– Loose or missing screws
– Test its functionality: A faulty latch often fails to secure the hood properly. Some signs include:
– Difficulty in opening or closing the hood
– The hood not staying in place once lifted
– Unusual noises when operating the latch
If you notice any of these signs, it’s time to repair or replace your hood latch. Never ignore a malfunctioning latch, as it can compromise the efficiency of your kitchen hood system and potentially jeopardize safety. Always consult a professional if you are unsure about the severity of the issue. With proper maintenance, your restaurant’s kitchen hood can serve you efficiently for years to come.
Gathering Necessary Repair Tools
Once a malfunctioning hood latch has been identified, it’s essential to gather the right tools for an efficient and successful repair process. In the restaurant equipment repair industry, having the correct tools is half the battle and can significantly decrease the time and effort required to fix a problem.
The first tool you’ll need is a screwdriver set, including both flathead and Phillips-head options. This will allow you to remove any screws holding the latch in place. A wrench set is also important, as the latch may be bolted onto the hood. Additionally, investing in a sturdy pair of pliers can prove to be indispensable for gripping small or stubborn parts.
Next, you will need a replacement latch. It is critical to ensure this is the correct model for your specific hood, as using an incorrectly sized latch could lead to further complications.
Lastly, a flashlight will be necessary for seeing into the darker areas of the hood. Preferably, use a headlamp to keep your hands free.
Step-by-Step Hood Latch Repair
Following the successful assembly of necessary tools, the next crucial step involves a systematic process of repairing the malfunctioning hood latch. This task, while seemingly daunting, can be simplified into manageable actions that even those new to hood repair can navigate with relative ease.
The process can be broken down into the following steps:
Preparation
– Turn off all power sources connected to the hood. This is a crucial safety measure to avoid electric shocks.
– Remove the hood cover, typically held by a few screws, to expose the latch mechanism.
Inspection and Repair
– Examine the latch carefully to identify any visible damage. If the latch is simply misaligned, realigning it could solve the problem.
– If damaged, replace the latch. Begin by unscrewing the latch from the hood. Once removed, affix the new latch using the screws provided. Ensure it’s securely fastened but not overly tightened as this could cause damage.
Maintaining Your Hood Post-Repair
After ensuring the successful repair and optimal functionality of your hood latch, it is vitally important to establish a regular maintenance routine to prolong the lifespan of your restaurant hood. Not only does this routine ensure the longevity of your hood, but it also maintains the quality of air in your kitchen, keeping it safe and comfortable for your staff.
Firstly, clean the hood regularly to avoid accumulation of grease and other particles which could hamper its functionality. Depending on your kitchen’s workload, this could be on a weekly or monthly basis. Utilize commercial-grade degreasers for thorough cleaning, followed by a rinse with warm water.
Secondly, inspect the hood latch and other components routinely. Check for signs of wear and tear, and replace parts as necessary to prevent sudden breakdowns.
Lastly, schedule professional inspections at least once a year, especially after completing hood repair. Experts can identify potential problems early and provide necessary solutions, avoiding costly repairs.